What to plant
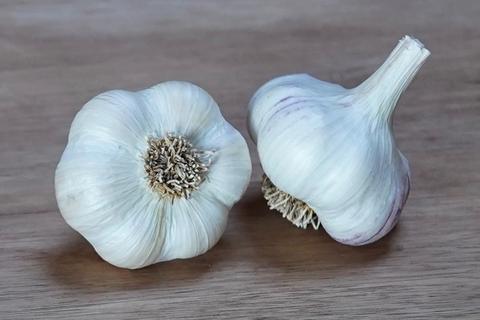
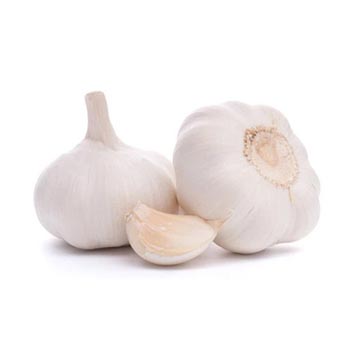
Supermarket garlic that sends out its exploratory shoots has most likely been treated and is not a good option. Since it’s been grown on a large scale and possibly far from your home, you really can’t be sure if it’s a good choice.
Therefore, if you can get organic heirloom garlic from a reputable farmer at your farmers market, go for that. Since it was grown locally, it will be suitable for your climate. Likewise, you can buy seed garlic from your favorite seed catalog or online but will take 3 seasons to become a big head.
HOW TO PLANT AND HARVEST GARLIC
Garlic wants: Light, ( about 10 hours continued sun throughout the day), loose soil; compost; a sunny location; mulch.
Separate the cloves (without peeling them) and plant them 6-8 inches apart, in rows that are 6 to 8 inches apart. The flat side goes down and the pointy side should face up. They should be 2 inches deep (for mild climates) to 4 inches deep (for colder climates). Water and cover with a 2 to 4-inch layer of mulch.
Once the soil is ready for planting, separate the garlic cloves carefully, making sure the skin doesn’t pull apart. It is best to separate them just before planting to prevent the root nodules from drying.
The planting depth depends on the climate. If you’re in a rainy location or if frosts are severe, sow the cloves deeper in the soil so the plant resists better during winter. As a general rule, you need to plant the cloves at a depth double their size and with a separation between cloves of 6 to 8inches, making sure the pointy end faces upwards. Once planted, you can cover the cloves with an organic topsoil layer, for instance hay or crushed leaves, to protect them from the cold. You can use landscape fabric around the garlic to prevent weed growth between the garlic plants.
In the spring
When the first shoots emerge, water them once or twice a week through the growing season. They want about an inch of water a week (total including natures rain). Garlic is really only picky in that it doesn’t love competition, so weeding – or mulching – is a must. Hardneck garlic will present a scape that eventually curls back to the leaves. Cut the scapes back when they curl as shown in the picture. Removing the Scape encourages bulb growth. Hence, hardneck garlic is called “the broken flower”. The flower or bulbil has seeds that can be harvested to grow garlic which will need 3 to 4 years to become a large head. When the scape is left untouched, the growth of the bulb is inhibited.
So cut off the scapes and eat them, dry them, grind them! Go to our recipe pages and look at all the ways you can use the scapes. (Sautéed in butter is simple and wonderful).
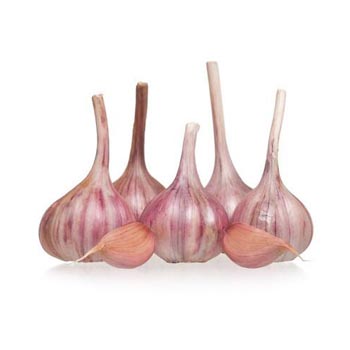
In Southern European countries, the white garlic strains are planted during the autumn months, whereas the purple varieties are sowed in the spring. Generally speaking, the so-called hard neck strains work well in cold regions, whereas the soft neck varieties (the ones usually found in supermarkets,) work well in different climates but grow better in regions with mild winters.
The photoperiod is vital
Garlic grows optimally in areas with long days, where sunlight exceeds 10 daily hours, especially at the time of bulb formation: bulbs won’t start developing until daylight exceeds 11 hours and the maximum temperature is around 18-20°C.
Garlic does NOT like growing with ‘wet feet’
Best to water regularly for optimum bulb development, with enough water (total about 1 inch per week) but not in excess, as garlic roots don’t particularly enjoy waterlogged soils. That’s why it’s essential for the substrate to remain well-drained. Grow your garlic in raised beds, grow tables, or directly in pots with abundant organic matter mixed with the substrate. You can also cover the top with a layer of topsoil, which helps retain moisture and prevents the appearance of weeds.
Choose a sunny spot
Garlic really likes the sun. Most garlic producers recommend full sun exposure, although some varieties can thrive in spaces that are only partially sunny. In extremely hot climates, garlic can improve its development by being in the shade in the afternoon so it doesn’t get exposed to extreme heat all day long.
The soil needs to be loose and spongy
Garlic is a root crop; therefore, the soil needs to be loose and spongy on top. If you’re using growing pots or tables, it is advised to add Peat Moss to your substrate to make it more loose.
Garlic loves a fertile soil
If your soil is sandy or clayey, add compost, worm castings, manure or another type of organic matter to help retain moisture and improve nutrient interchange, which will lead to bigger garlic bulbs with a better flavour. And remember: garlic hates acidic soils, so it is important to maintain almost neutral pH levels (between 6.5 and 7.0).
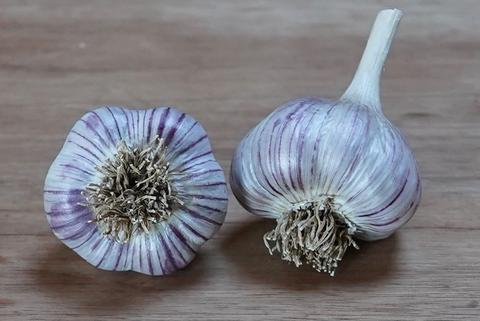
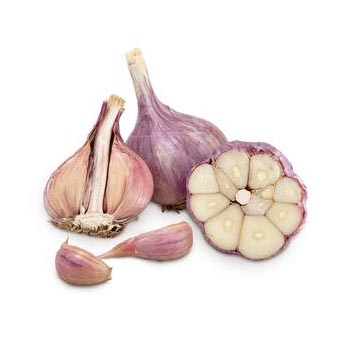
Garlic is usually not grown from seeds
Every garlic bulb is made up of several cloves, with each clove having the potential of producing a new bulb. Most garlic types from the grocery stores grown nowadays are sterile, which means that they don’t produce true seeds or even flowers. All garlic plants of the same variety are clones of one another, so they have identical genetic composition.
It can also be grown as a companion plant
Garlic is afantastic companion plant for a great variety of species because it takes up very little space and often works as a natural repellent. Few pests bother to attack garlic, but onion maggot larvae can occasionally be found in the cloves at harvest time.
The green shoots will start showing through the topsoil after four to eight weeks. They will stop growing in winter but will resume growing come the spring. Some growers remove the topsoil if the spring season is particularly rainy, and especially if the stems show clear signs of rotting.If you seem to have a good crop going at this point, you could also choose to let a plant or two go on to bloom – it will take energy away from the bulb, which is of course the star of the show – but garlic blossoms are a rare and delicious treat that would liven up any special meal.
Garlic starts to dry in early summer, when the lower leaves turn brown. Try not to water the plants (stop watering) during the last month, which will help them stay dry and clean. Garlic will be ready for harvest when the plant only has about 4 or 5 green leaves left on the top.
When the leaves have turned brown, in late June or early July, it’s time to liberate the prize.
When the bulbs are ready, lift them with a fork and brush off any remaining soil. Let them dry off in a well-ventilated and shady area for two weeks. Hang them upside down with a string if you can, or you can also plait (braid) them if they are of the soft neck variety.
Do NOT try pulling them up as the stalk may separate from the bulb You may require some delicate work with a shovel or pitchfork. If it looks plump and papery, it’s ready and you can proceed with lifting up the rest. If it looks more anemic than a garlic bulb should, give them a few more days – but if you wait too long, the bulb can start to separate and that’s not so fun. It can be kept in the freezer, or kept in the fridge for four days.
And finally, save your best bulbs to plant next fall. You might never have to buy garlic again!
Garlic will be ready for storage when the skin is dry and resembles paper. The bulbs should be hard and the cloves should separate easily. Store in a well-ventilated place with humidity levels between 65 and 70%, and temperatures of around 18-19°C. If garlic is cured properly it can last for at least 6 months, and even up to a whole year!
How to cure
Brush the loose dirt off and remove the outermost papery skin and trim the roots. Softneck varieties can be braided; hardneck bulbs can just be trimmed (or not). It is recommended hanging in a cool dark place, allowing them to get some air, for four to six weeks. You can also lay them out on newspaper or a wire rack or basket.
How to store
Under commercial conditions, softnecks will store for nine months and hardnecks will be good for six – at home it’s more like three to five months, if in a dark, dry, and well-ventilated spot. (And not in the fridge, as they will start to sprout there.) Once they begin to shrivel and sprout, they have passed their prime; though they are still edible. If you have harvested more than you think you will eat in a few months, consider one of these options
• Freeze it
You can freeze chopped garlic, individual cloves, or whole bulbs. You can also puree garlic and add it to olive oil which can then be frozen – the oil doesn’t get rock hard and this magical concoction can be spooned out as desired.
• Dry it
If you have a food dehydrator, garlic loves to be dried. After, you can give it a spin in the food processor and make garlic powder, or add it to sea salt for homegrown garlic salt.
• Make garlic vinegar
Add some cloves to red or white wine vinegar; store in fridge for up to four months.
A word on garlic oil
If you make garlic olive oil, do not store it at room temperature – that’s a recipe for botulism,